
Your new e-bike arrives in a box. It is not ready to ride. But it is not a pile of parts either. Most of the work is already done. You are left with a few steps that are simple, a few that are fiddly, and a few that are worth paying a shop for. This guide tells you which is which.
What the Factory Already Did
When the box arrives, the frame, motor, battery, and drivetrain are usually assembled. The wheels, especially the rear wheel with the motor, are often fitted. The brakes are typically bled and adjusted. The electrical system is wired and tested. What is left is the stuff that makes the box smaller: the front wheel, handlebar, pedals, seat, and sometimes fenders or racks.
For a typical e-bike, you will attach the front wheel, align the handlebar, install the pedals, and adjust the seat height. Some bikes, like folding models, may have a folding frame that needs locking into place. Cargo bikes might have a front rack or a long tail that needs bolting on. The exact list is in the manual that comes with your bike.
What You Need to Do Yourself
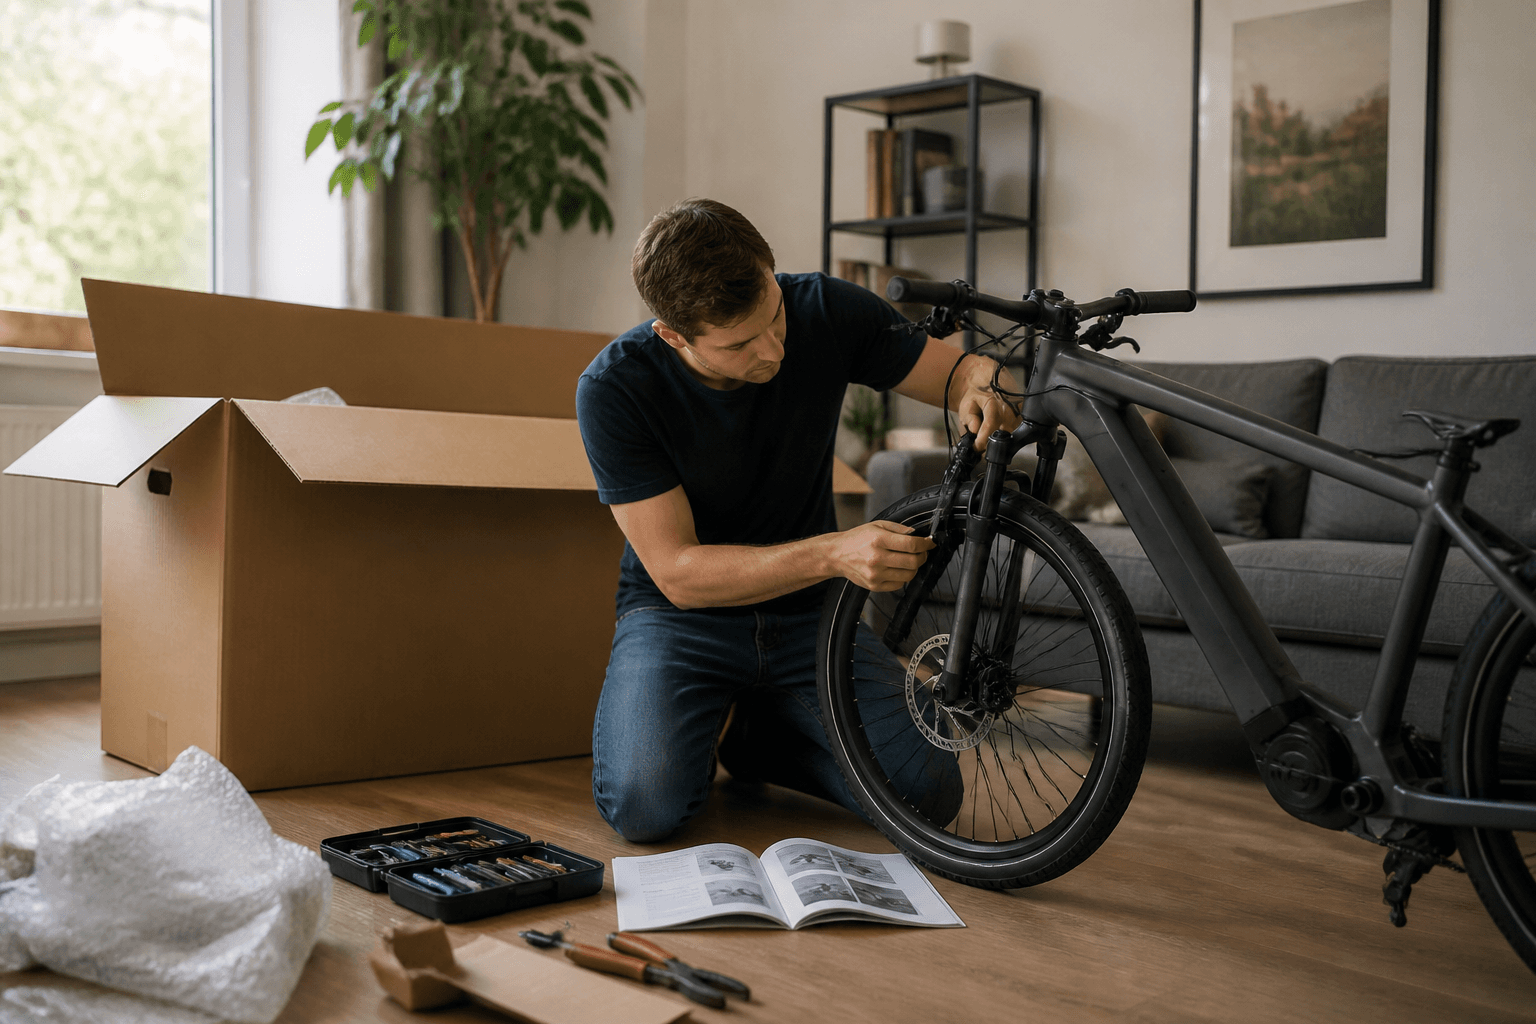
The standard list of tasks is short. Attach the front wheel. Slide the handlebar into the stem and tighten it. Screw in the pedals, left and right, because they are threaded differently. Insert the seat post and clamp it. If your bike has a kickstand, fenders, or a rack, those may need bolting on.
Some bikes have a front wheel that needs the disc brake caliper aligned. Some have a handlebar with internal cable routing that needs careful threading. Some have a suspension fork that needs the quick release or thru-axle tightened to spec. These steps are not hard, but they require attention.
- Front wheel: align the disc rotor between the brake pads, tighten the axle to the torque spec in the manual.
- Handlebar: set it straight, then tighten the stem bolts evenly, alternating left and right.
- Pedals: left pedal is left-hand thread, right pedal is right-hand thread. Tighten firmly.
- Seat post: insert to the minimum insertion mark, clamp at the height you need.
- Fenders and racks: bolt them on, making sure they clear the wheel and tires.
| Task | Difficulty | Tools Needed | Time (minutes) |
|---|---|---|---|
| Front wheel | Easy | Hex wrench or thru-axle tool | 10-15 |
| Handlebar | Easy | Hex wrench | 5-10 |
| Pedals | Easy | Pedal wrench or hex wrench | 5-10 |
| Seat post | Easy | Hex wrench or quick release | 2-5 |
| Fenders/rack | Moderate | Hex wrench, possibly screwdriver | 20-30 |
| Brake alignment | Moderate | Hex wrench, possibly disc brake tool | 15-20 |
Tools You Actually Need
You do not need a full workshop. A set of hex wrenches (metric) covers most bolts. A torque wrench is important because over-tightening can strip threads or damage carbon parts. A pedal wrench or a strong hex wrench is needed for pedals. A torque wrench that reads in Newton meters is ideal, as many bolts have a specified torque.
- Hex wrenches: 3, 4, 5, 6, 8 mm are common.
- Torque wrench: for critical bolts like stem, handlebar, and crank.
- Pedal wrench: or a long hex wrench that fits the pedal spindle.
- Tire pump: to inflate tires to the pressure on the sidewall.
- Lubricant: for the chain and pivot points.
- Clean rags: to wipe off grease and dirt.
Some bikes come with a basic multi-tool. That is fine for emergency adjustments, but not for assembly. You need proper tools that fit well. A cheap tool can round a bolt head and turn a 10-minute job into a trip to the shop.
What a Shop Does That You Might Not
A professional mechanic will do more than bolt on the wheels. They will check the brake alignment, adjust the derailleur, and ensure the motor connectors are seated. They will also inspect the bike for any shipping damage. They have the tools and experience to catch issues you might miss.
For example, a disc brake rotor might be slightly bent in transit. A shop will straighten it or true it. A derailleur might be out of adjustment, causing poor shifting. A shop will index the gears. These are not hard to learn, but they take time and patience.
If you are not comfortable with mechanical work, or if the bike is high-end and complex, a shop is worth the cost. Many shops offer assembly as a service, and some brands require professional assembly for the warranty to remain valid. Check your warranty terms before you decide.
When to Definitely Use a Shop
- The bike has a carbon frame or fork. Carbon is unforgiving of over-torquing.
- The bike has hydraulic disc brakes that need bleeding.
- The bike has an internal gear hub or a belt drive, which require special tools.
- The bike is a cargo bike with a heavy rear rack or a long tail that needs precise alignment.
- You do not own a torque wrench or you are not confident using one.
The Cost of Assembly: DIY vs. Shop
Assembling it yourself costs only your time and the tools you buy. A basic tool kit might cost you 50 to 100 USD, but you will use it for maintenance later. A shop assembly typically costs 100 to 200 USD, depending on the bike and the shop. Some online retailers offer free assembly at a local shop, while others charge extra.
Consider the value of your time. If you are handy, DIY might take 2 to 3 hours. If you are not, it might take 5 hours and still be wrong. A shop does it in an hour and guarantees the work. For a bike that costs 1000 USD or more, the assembly cost is a small fraction.
| Option | Cost (USD) | Time | Risk |
|---|---|---|---|
| DIY with your own tools | 50-100 (tools) | 2-4 hours | Medium if careful |
| DIY with borrowed tools | 0 | 2-4 hours | Medium if careful |
| Shop assembly | 100-200 | 1 hour (wait) | Low |
| Free shop assembly (if included) | 0 | 1 hour (wait) | Low |
Step-by-Step: What a Typical Assembly Looks Like
Here is a typical sequence for a hub-motor city bike. Your bike may differ, so always follow the manual. But this gives you an idea of the order and the time.
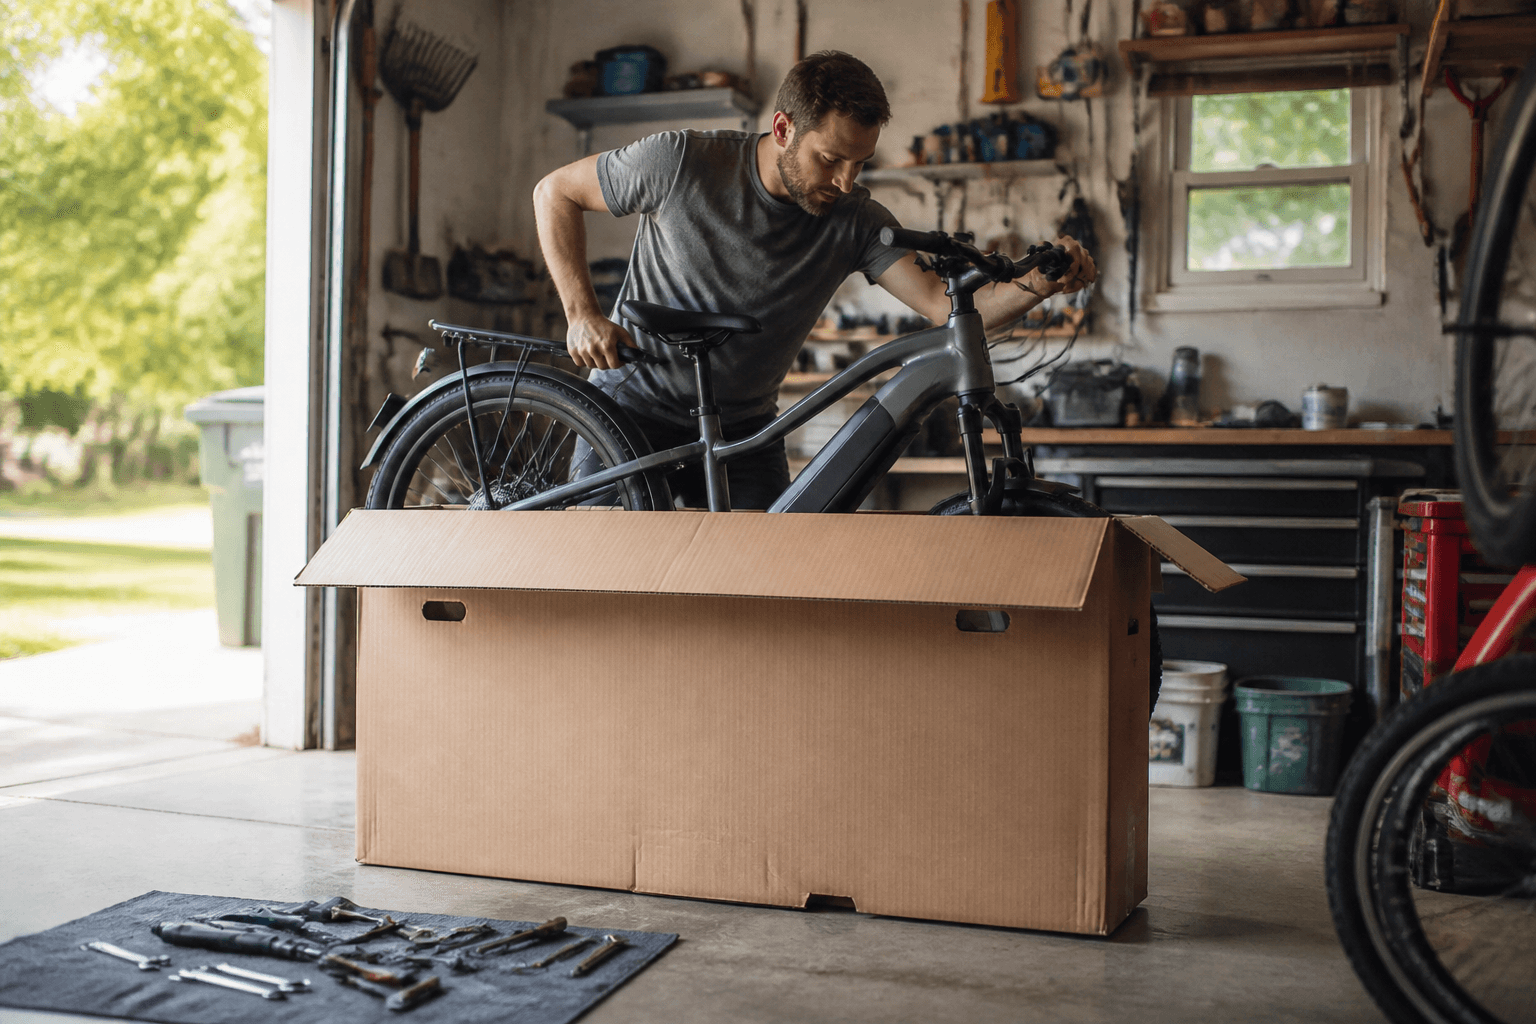
- Unbox the bike and remove all packaging. Inspect for damage. Take photos if you see any.
- Cut the zip ties that secure the handlebar and front wheel. Do not cut any cables.
- Install the front wheel. Slide the axle into the fork dropouts. Tighten the quick release or thru-axle to the torque spec.
- Align the handlebar. Make sure it is centered and the brake levers are angled correctly. Tighten the stem bolts.
- Install the pedals. The left pedal is marked L and threads counterclockwise. The right pedal is marked R and threads clockwise.
- Insert the seat post. Set the height so your leg is slightly bent at the bottom of the pedal stroke. Tighten the clamp.
- Attach any accessories: fenders, rack, kickstand, lights. Use the bolts provided.
- Inflate the tires to the pressure printed on the sidewall.
- Check all bolts for tightness. Use a torque wrench on critical ones.
- Test the brakes and shift through the gears. Adjust if necessary.
This sequence works for most bikes. For a folding bike, you may need to unfold the frame and lock it. For a cargo bike, the front wheel might be smaller and the rack might be already attached. Always read the manual first.
Common Mistakes and How to Avoid Them
The most common mistake is over-tightening bolts. A bolt that is too tight can strip threads or crack a part. Use a torque wrench. Another mistake is installing the pedals wrong. The left pedal is reverse-threaded. If you force it, you will damage the crank arm.
Another mistake is forgetting to align the disc brake rotor. If the wheel is not seated correctly, the rotor will rub against the pads. You will hear a scraping sound. Loosen the axle, wiggle the wheel, and retighten.
Finally, do not ride the bike before you have checked the brakes and shifted through the gears. A quick test ride in a safe area can reveal problems. If something feels off, stop and fix it.
- Over-tightening: use a torque wrench, not muscle.
- Pedal mix-up: left is left-hand thread, right is right-hand thread.
- Rotor rub: align the wheel before tightening the axle.
- Loose handlebar: check the stem bolts after the first ride.
- Battery not seated: push until you hear a click.
When to Skip DIY and Call a Pro
If you are not handy, or if the bike is complex, call a shop. A full-suspension mountain bike has many pivot bolts that need precise torque. A cargo bike with a heavy rear end might need a second person to lift. A carbon bike is unforgiving of mistakes.
Also, if you bought the bike online, consider having a local shop assemble it. They can also do the first tune-up after a few hundred kilometers. Many shops offer a package deal for assembly and first service.
The cost of a shop is often less than the cost of a mistake. A stripped thread on a frame can be a 200 USD repair. A cracked carbon fork is a safety hazard. If you have any doubt, spend the money on a professional.
What About the Battery and Motor?
The battery and motor come pre-installed or in a separate box. If the battery is separate, you will need to insert it into the frame and lock it. Make sure the contacts are clean and the battery clicks into place. Do not force it.
The motor is usually already attached to the wheel or the frame. You do not need to touch it. But you should check that the motor connectors are secure. If you see a loose connector, push it together until it clicks. Do not pull on the wires.
Before the first ride, charge the battery fully. The manual will tell you how long. Do not charge it in extreme temperatures. And do not ride with a low battery if you can avoid it, as that can strain the cells.
The First Ride: What to Check
After assembly, take a short test ride in a safe area. Check the brakes at low speed. Shift through the gears. Listen for any unusual noises. Feel for any wobbles. If something is wrong, stop and fix it before you go further.
After the first ride, re-check the bolts. The initial settling can loosen them. In particular, check the stem bolts, the axle nuts, and the pedals. A torque wrench is your friend here.
Also, check the tire pressure. Tires lose air over time. The correct pressure is printed on the sidewall. Under-inflated tires make the bike sluggish and can cause pinch flats.
Finally, read the owner's manual. It has maintenance schedules, torque specs, and warranty information. Keep it with the bike.
What to Do Next
Your e-bike is assembled and ready. Now think about the cost of riding. Use our calculators to estimate your range, compare costs with driving, and plan your budget. The links are below.
If you are still deciding which bike to buy, use the finder or browse the catalogue. If you already own a bike, the calculators help you understand its real-world range and cost. Assembly is just the beginning.
Frequently asked questions
What tools do I need to assemble an e-bike?
Most e-bikes need basic hex wrenches (usually 4, 5, 6 mm), a torque wrench for critical bolts, and possibly a pedal wrench. Some folding bikes may need fewer tools. Check the manual that comes with your bike, as tool sizes vary.
Is it hard to assemble an e-bike myself?
It depends on the bike. Most require attaching the front wheel, handlebar, pedals, and sometimes the fenders or rack. If you are comfortable with basic mechanical tasks and follow the manual, it is doable in a few hours. But if you are unsure, a shop can do it safely.
Should I pay a shop to assemble my e-bike?
If you lack the tools or confidence, yes. A professional will torque bolts correctly, align brakes, and check the motor connections. This is especially important for high-torque or heavy bikes. The cost is often worth the peace of mind, and it may be required for warranty.
What is usually already assembled on a new e-bike?
Typically, the frame, motor, battery, and wheels (sometimes the rear wheel) come pre-assembled. The handlebar, front wheel, pedals, and sometimes the seat are left for you. Some bikes come 90% assembled, others need more work.
How long does e-bike assembly take?
For a beginner, plan on 2 to 4 hours. Experienced mechanics might do it in under an hour. The time depends on the bike's complexity, such as whether it has a suspension fork, internal cables, or multiple accessories to attach.